Clay Masterson, Backcountry Conditioning Expert & Gear Pragmatist
July 16, 2026 · 12 min read
Solo trail hiking for beginners: why going alone is safer
Trail hiking for beginners gets sold as a group activity for one simple reason: more people must mean more safety. That logic is incomplete.
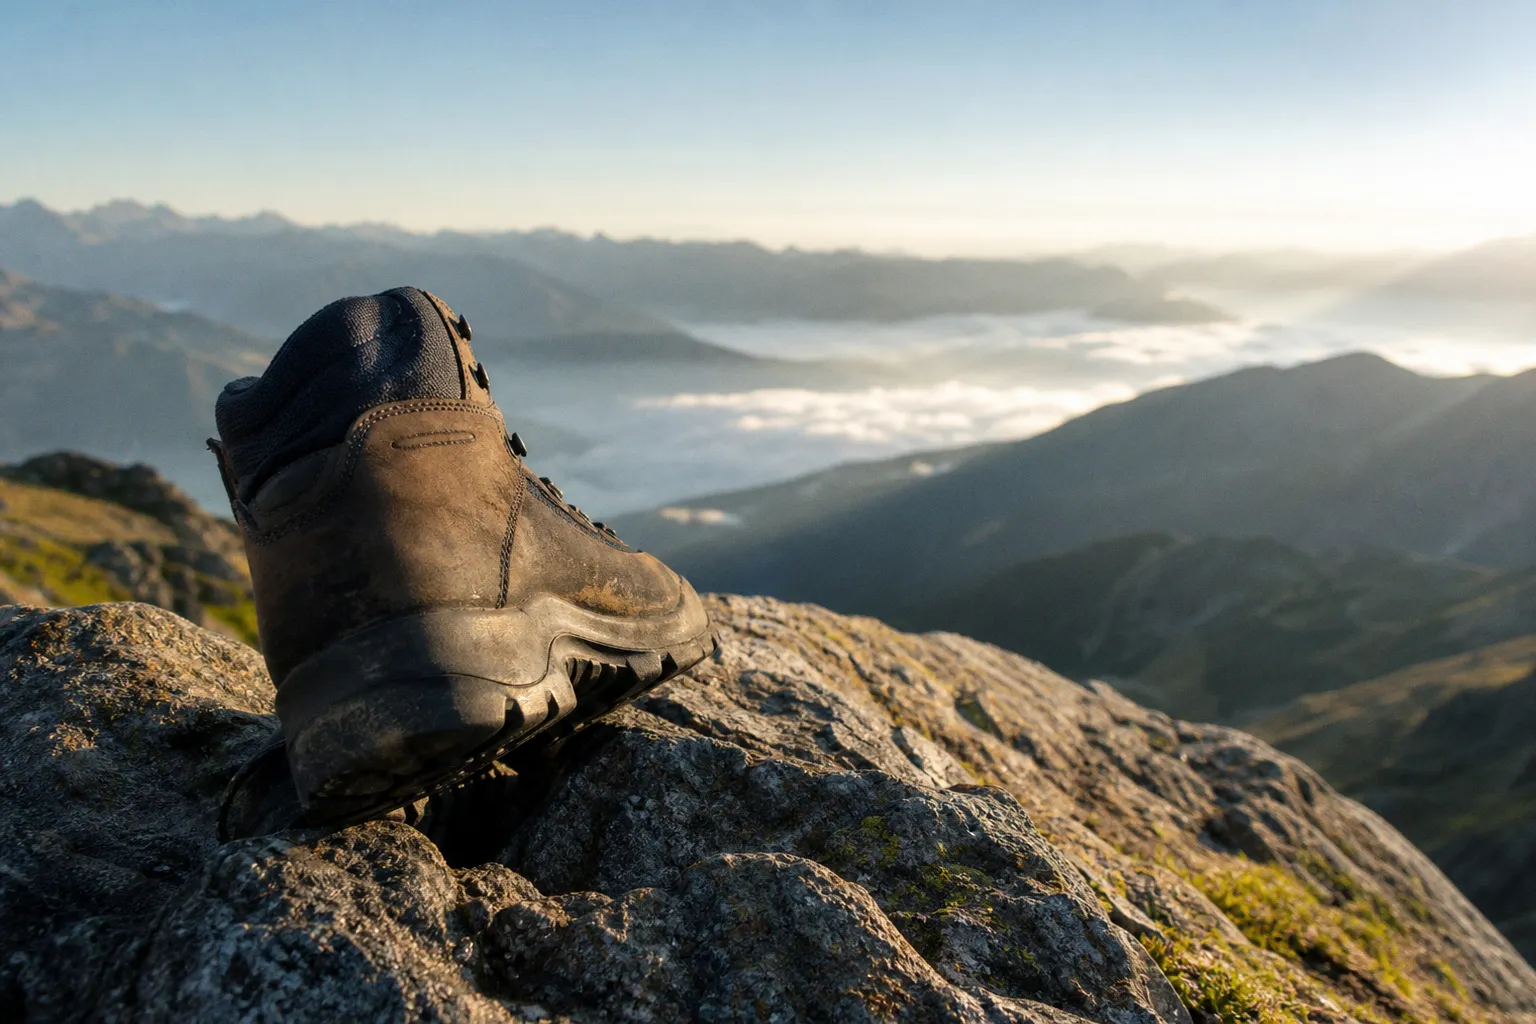
Solo Trail Hiking for Beginners: Why Going Alone Can Make You Safer
A hiking group gives you extra hands if somebody rolls an ankle, gets hypothermic, or freezes under pressure. It also gives you social drag. The faster hikers torque the pace upward. The hesitant person stops voicing concerns. Everyone keeps moving because turning around feels like losing. That is how a reasonable day hike becomes a bad call with witnesses.
I hike solo because it strips the decision down to its working parts: terrain, weather, energy, time, route, and consequences. No performance. No summit fever. No pretending your knees are fine because the strongest person in the group is still charging uphill.
That does not mean hiking alone is automatically safer. It means solo hiking can produce cleaner decisions—provided you close the brutal weakness of being alone: there is nobody beside you when your body or your plan fails.
Solo hiking removes social pressure. It does not remove consequences.
The group can be the hazard nobody wants to name
Most beginner trail hiking mistakes are not dramatic. They are small failures stacked on top of each other. Leaving late. Skipping a layer because someone else says the forecast looks fine. Continuing through bad footing because the group already committed. Drinking too little because you do not want to slow everyone down.
Groups create their own momentum. Once boots are moving, stopping takes social effort. Every person carries a different fitness level, appetite for risk, navigation skill, and tolerance for discomfort. Those differences do not average out. They grind against each other.
Backcountry decision-makers often describe these traps through the FACETS framework: Familiarity, Acceptance, Consistency/Commitment, Expert halo, Tracks/Scarcity, and Social facilitation. The label matters less than recognizing the mechanics.
Here is what those traps look like on a normal trail:
- Familiarity: “I did this route last summer.” Fine. But summer trail conditions do not tell you much about wet rock, early darkness, washed-out crossings, or a cold front.
- Acceptance: You do not want to be the cautious one. So you keep quiet when the route starts feeling wrong.
- Commitment: You have driven two hours, booked a campsite, or told people you would summit. Suddenly the plan owns you instead of the other way around.
- Expert halo: One confident hiker becomes the unofficial leader, even if their confidence is based on a few good trips and a loud voice.
- Tracks and scarcity: Footprints, a visible summit, or a narrow weather window make continuing feel inevitable.
- Social facilitation: People take bigger swings when others are watching. That includes hiking faster downhill than their joints can brake.
I have watched capable people make stupid pacing decisions because they were trying not to be “the slow one.” Downhill is where that bill comes due. Quads fatigue, braking mechanics get sloppy, and the knee starts taking force it was never built to absorb repeatedly. Then the hiker who rushed to stay with the group becomes the hiker everyone has to extract.
Large groups make this worse. Many land managers recommend keeping parties to roughly 10 to 12 hikers at most. Beyond that, the group moves slower, spreads out, loses communication, and turns every intersection into a head count. It also pounds the trail harder. A dozen boots cutting switchbacks do not become harmless because everyone is smiling in a photo.
Why solo hikers often make better calls
When I hike alone, I do not have to negotiate with anyone’s ego, schedule, or fitness. I can turn around the second the equation goes bad. That is the real advantage.
Solo hiking makes feedback immediate. My breathing is my breathing. My water is my water. The clouds are not somebody else’s problem to dismiss. If my calves are cramping at mile three, I do not pretend it is a character test. I adjust pace, eat, drink, shorten the route, or go home.
This is especially useful for hiking alone for the first time, when you are still learning how your body behaves under load. You need room to notice things:
- how fast your feet heat up inside a particular sock-and-shoe combination;
- how your heart rate settles—or does not settle—after a steep pitch;
- how much water you actually burn through in heat, wind, and elevation gain;
- when your stride starts shortening because fatigue is creeping up the kinetic chain;
- how your navigation attention drops when you are hungry or irritated.
A group can cover those signals with conversation, pace pressure, and distraction. Solo hiking puts them right in your face. Good. That is where learning happens.
The mistake is confusing independent decision-making with toughness. You are not proving anything by pushing through a bad call alone. The smartest solo hikers I know turn around more easily than almost anyone. They have no audience to impress.
The turnaround is not a failure of nerve. It is a successful risk assessment.
There is also a practical advantage: you can move at a sustainable cadence. Not the cadence of the fastest person. Not the awkward stop-start rhythm of a mixed group. Yours.
That means fewer sloppy descents, fewer rushed water breaks, and fewer moments where fatigue turns a basic route-finding choice into a coin toss. Pace control is safety equipment. Treat it that way.
The response gap: the part solo hikers cannot ignore
Now for the hard truth. If you fall, become immobilized, get seriously cold, or lose consciousness, solo hiking has a problem group hiking does not: the response gap.
There is no partner to stabilize an injury. Nobody to get your insulation layer on while you shiver. Nobody to hit an emergency beacon if you cannot work it yourself. No second brain checking whether you are becoming confused, dehydrated, or dangerously committed to a route.
That gap is why “I hike alone and just tell someone where I’m going” is not a safety plan. It is a start. A thin one.
For a beginner, solo safety is built by reducing the time between a problem and a useful response. You do that in layers.
| Safety layer | What it solves | Where beginners usually blow it |
|---|---|---|
| Conservative route | Limits exposure, navigation complexity, and bailout distance | Choosing a hike for the view instead of choosing one they can exit easily |
| Route plan left with someone | Gives rescuers a starting point if you fail to check in | Sharing a vague pin or saying “somewhere near the park” |
| Offline navigation | Keeps you moving when cellular service vanishes | Assuming the blue dot will work without downloaded maps |
| Insulation and weather protection | Buys time during an unplanned stop | Packing for the trailhead temperature, not the worst hour of the day |
| First-aid kit and basic skills | Handles minor problems before they become major ones | Carrying supplies they have never opened or practiced with |
| Satellite communicator or PLB | Creates an emergency line beyond cell coverage | Buying a device, then leaving it off, buried, or unregistered |
A Personal Locator Beacon or a satellite communicator is not a magic talisman. It is a tool. Learn the difference before you need it. A PLB is built for true emergency signaling and typically transmits a distress location through a dedicated rescue system. A satellite communicator can add two-way messaging, location sharing, and check-ins depending on the device and service plan.
For many solo day hikers, two-way messaging is the more useful daily tool because it lets you report a delay before a delay becomes a search. But if your route takes you beyond dependable signal and you cannot self-evacuate, either device is vastly better than yelling into an empty drainage.
The device belongs where you can reach it after a fall. Shoulder strap. Hip-belt pocket. Chest pocket. Not buried under your puffy at the bottom of the pack like an expensive piece of dead weight.
Your first solo hike should be almost boring
The first solo outing is not the day to “see what you’ve got.” That phrase has launched more beginner trail hiking mistakes than bad boots ever did.
Start with a well-marked loop under 2.5 miles. Yes, that can feel small. Do it anyway. The point is not to rack up distance. The point is to rehearse the entire operating system while the consequences are low.
Pick a route with predictable footing, a clear trailhead, limited exposure, and an obvious return path. Avoid off-trail travel, major creek crossings, sustained snow, loose scrambles, and routes where one missed junction turns into an hour of damage control. Do not use your first solo hike to test whether you can navigate by instinct. You cannot. Download offline maps before leaving the trailhead and know how to read them before the signal disappears.
My first-solo template is simple:
1. Choose a route you could complete at half your expected speed. Beginners consistently underestimate how long stops, navigation checks, uneven ground, and fatigue take. Build margin from the start.
2. Leave an actual trip plan. Trailhead name, route name, planned start, turnaround time, expected return, vehicle description, and the exact point when your contact should escalate if you do not check in.
3. Set a turnaround time before you start walking. Not “when it gets late.” A real time. If you are not at the planned point by then, you turn. Views do not care about your schedule.
4. Carry the Ten Essentials, then understand them. Navigation, illumination, sun protection, insulation, first aid, fire, repair kit and tools, nutrition, hydration, emergency shelter, and extra food. A kit you cannot use is retail therapy in nylon.
5. Bring enough water for the conditions. A common working rule is around one liter per hour while hiking, but heat, humidity, elevation gain, pack weight, and your own sweat rate can push that number around. Start hydrated. Carry more than your optimism.
6. Wear footwear you have already walked in. Do not debut new boots on a solo outing. Hot spots become blisters, blisters alter gait, altered gait shreds your patience and makes every descent worse.
7. Make the first trip a skills session, not a summit attempt. Stop. Check your location. Practice opening the first-aid kit. Put on your shell before you are cold. Send a check-in. Learn the rhythm.
This is not timid hiking. This is load management. You would not max out a barbell on your first session after a layoff. Stop treating remote terrain with less respect than a squat rack.
Is it safe to hike alone? Ask a better question
“Is it safe to hike alone?” is the wrong question because it demands a yes-or-no answer from a situation built out of variables.
A better question is: Can I manage the consequences of a mistake on this route, today, with the skills and equipment I actually have?
That answer changes with every trip.
A short, signed loop close to a populated trailhead in stable weather is one thing. A long alpine route with unstable weather, snowfields, unbridged water, and no cell coverage is another animal entirely. Do not let the label “day hike” fool you. A six-mile trail can be casual or serious depending on elevation, surface, heat, daylight, and extraction options.
I use a blunt filter before heading out solo:
- Navigation: Can I follow this route without depending on cell signal or random hikers?
- Terrain: If I trip here, can I likely get myself moving again? If not, what is my communication plan?
- Weather: What happens if wind, rain, or temperature shifts harder than forecast?
- Time: Do I have enough daylight to move slowly, stop, troubleshoot, and still get out?
- Body: Am I carrying fatigue from training, work, poor sleep, or yesterday’s hard effort?
- Exit options: Are there junctions, roads, shelters, or reliable bailout points before the route gets serious?
If two or three of those answers are weak, I downgrade the route. That is not cowardice. That is how you keep a recreational hike from becoming an incident report.
Build solo competence before you buy more gear
The outdoor industry loves selling reassurance. Bigger packs. More aggressive boots. Gadgets with names that sound like military hardware. Most beginners do not need more equipment first. They need fewer unknowns.
Learn to read a topo map. Learn what a contour interval means. Learn how to use a paper map and compass well enough that a dead phone does not end the day. Practice layering while you are still comfortable. Learn basic ankle support, blister management, and how to keep a small problem from becoming a movement problem.
Then train the body that has to carry the plan.
Hiking is not just walking. Uphill requires steady aerobic output and posterior-chain drive. Downhill demands eccentric quad strength, ankle stability, and enough core control to keep your pack from yanking your torso around. With a loaded pack, poor load distribution turns every step into a small mechanical argument between your feet, knees, hips, and lower back.
Train step-downs. Train split squats. Train calf raises through full range. Hike hills with a light pack before you load up. Build the chassis before you add the cargo.
The first time you hike alone, keep the pack modest. The first time you carry extra water, emergency layers, a first-aid kit, food, and communication gear, you will feel the difference. That weight changes your cadence and your downhill braking. Better to discover that on a short loop than ten miles from the car.
Going alone is not the same as going unprepared
Solo hiking is not a rebellion against group hiking. Good partners are valuable. A disciplined group can pool navigation skills, share emergency gear, spot fatigue, and make a serious route more manageable.
But a group does not erase risk. And being alone does not create it from scratch.
For trail hiking beginners, solo trips can be a powerful way to develop judgment because every choice stays visible. You notice your pace. You notice your water. You notice the moment a route stops matching the plan. That kind of awareness is what keeps hikers out of trouble—not a headcount, not a loud friend, not a shiny gadget clipped to a pack.
Start short. Stay on obvious trails. Carry real layers, real navigation, real communication, and enough water. Leave a precise plan. Turn around early when the day starts to fray.
Then earn more terrain one clean decision at a time.